Your field.
Its boundaries, crops and history.
Mark your field on the map or draw the exact area you work on. Assign its crops and varieties, so every treatment ends up in the right place.
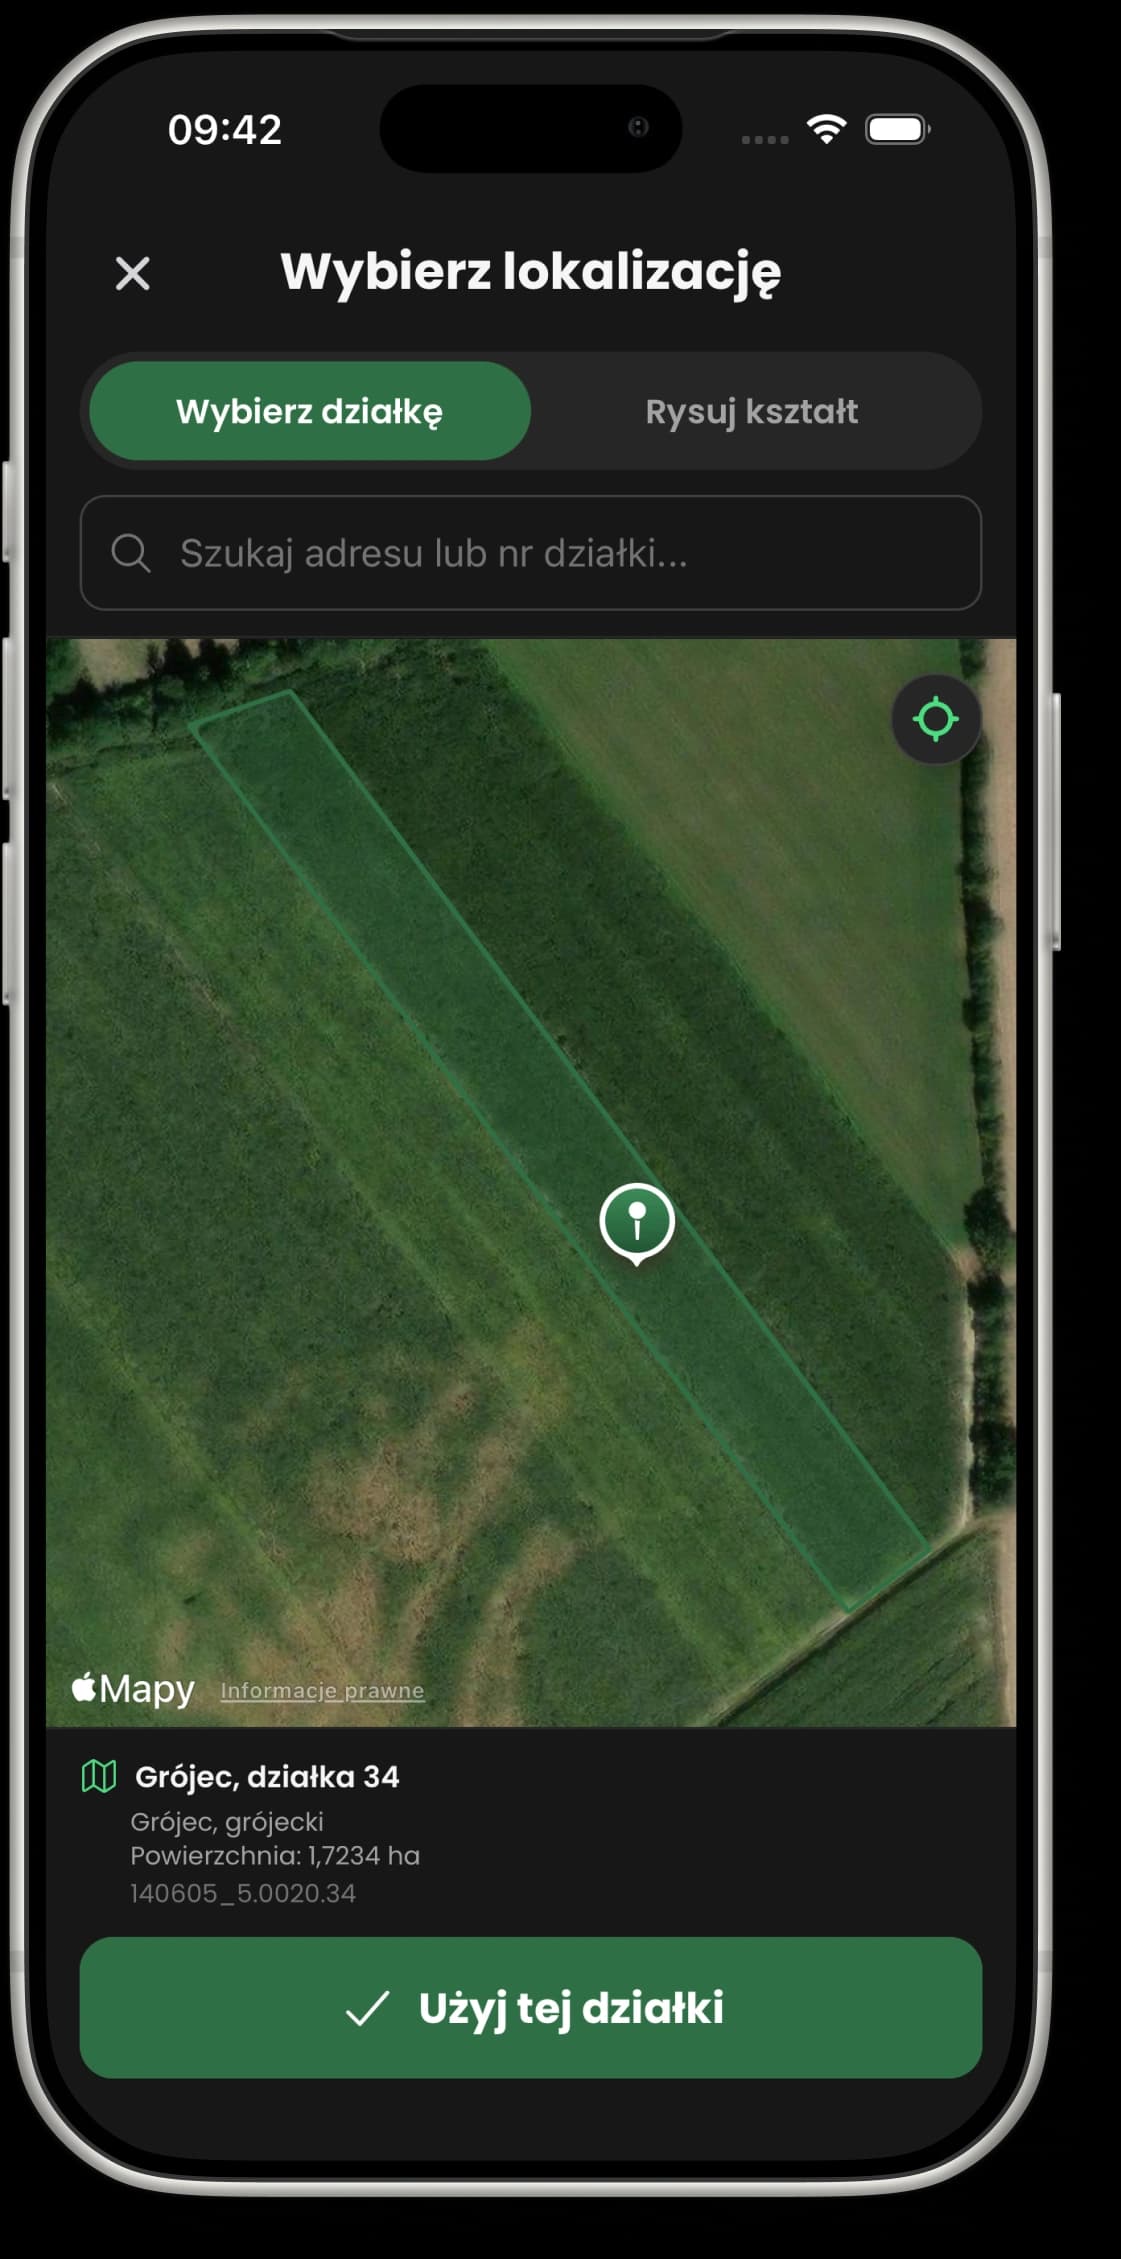
A point on the map or an exact outline?
Mark it on the map
Search for an address or tap the map to mark where the field is, then confirm the location.
Enough when you just need to know where each field is.
Draw your own outline
Tap to add the points of the shape. You can move them, undo the last point or start again. You need at least three points to confirm.
Useful for an orchard block, a polytunnel or part of a larger field.
The outline is just the start. Then comes the whole season.
A field links a place on the map with what grows there and with the work recorded in your journal.
- 01
Give the field its own name
For example “Roadside block”. Save its area and the unit you use.
- 02
Assign crops and varieties
Organise what grows on each field, so you can pick it quickly in later treatments.
- 03
Come back to the work you recorded
Check the treatments linked to the field. When you export, choose specific fields and the period you want to summarise.
Before you start
Can I add just part of a field?
Do I have to put my field on the map?
Does the map work on a computer too?
Start with one field.
Add a place, assign a crop and record your first treatment. Each new entry builds up its history.
Up to 3 entries on the free plan. Pricing